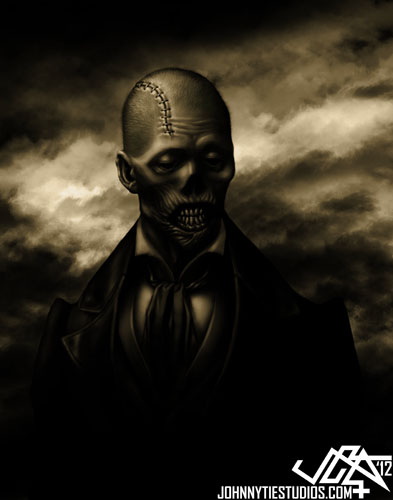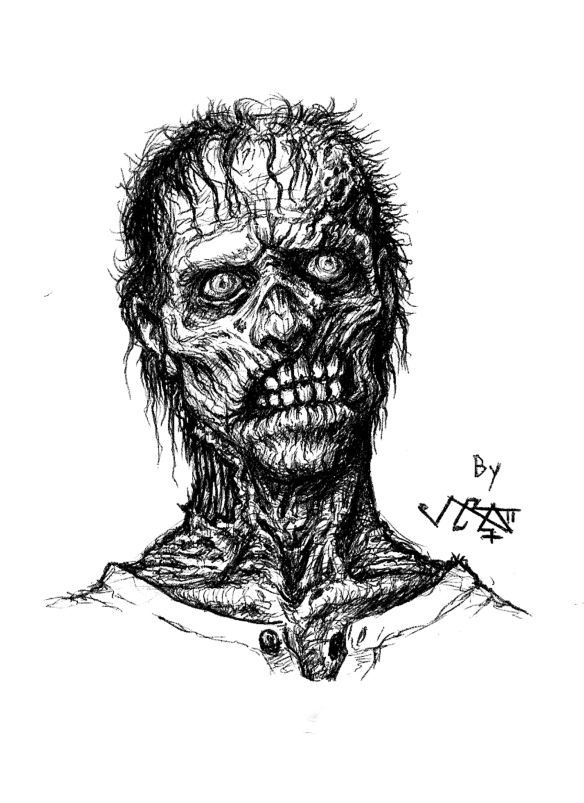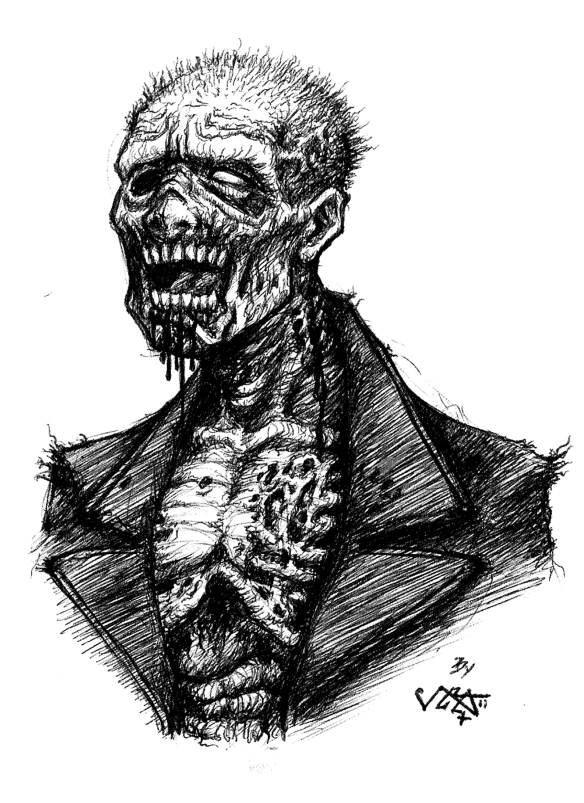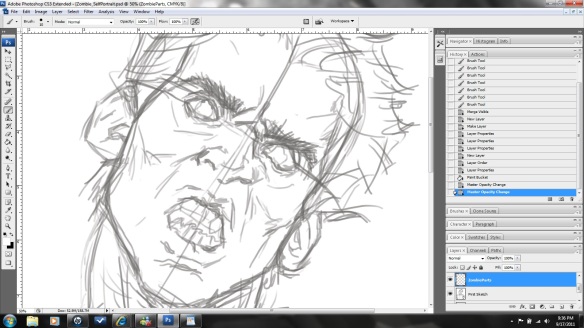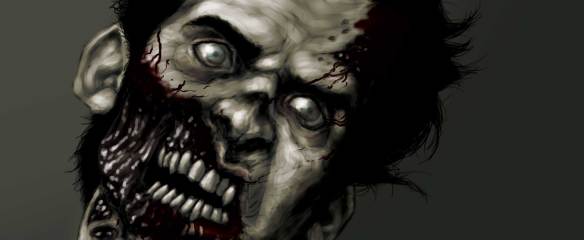
While doodling away on my computer and watching a ton of Zombie movies (both from the States and Foreign). I’ve decided to make my very first tutorial be on how to make your very own Zombie Self-Portrait!!!
The following are the very steps I took in creating the portrait using Photoshop and a WACOM tablet.
Enjoy!!!
(Note: Make sure that when using the brushes in Photoshop, that the pen pressure sensitivity is on within your Brush Presets located under the Brushes tab.)
Step 1: First, take a picture of yourself in your most fiercest Zombie pose. This is going to serve as a means of reference when creating your portrait of yourself as the Undead!
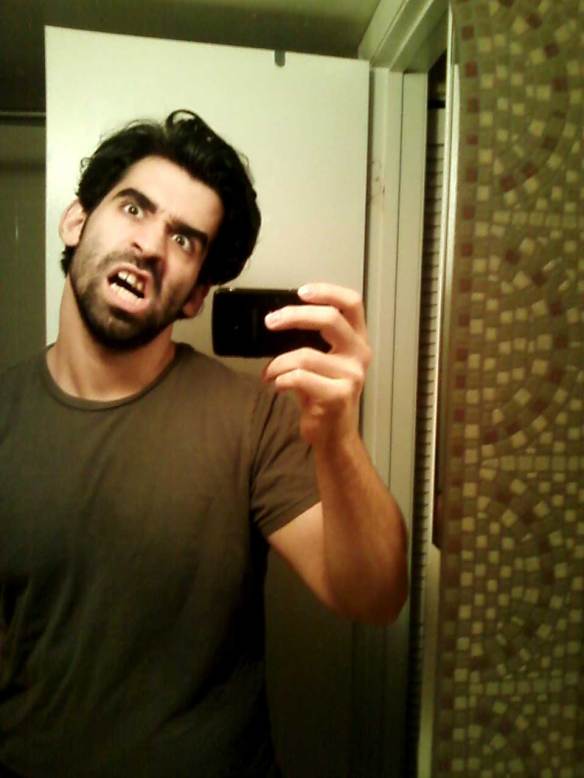
Grrrr!!! I'm a zombie!!! Argh!!!
Step 2: Second, open up Photoshop and creating an 11″x14″ canvas at a 300 dpi resolution. Leaving the main layer named “Background” undisturbed, create a new layer and use a brush you’re comfortable with (I recommend a 9px Hard Round brush for sketching) to begin drawing a loose and quick sketch based on the picture of the figure in his or hers zombie pose. Try to get down all the main basic features of the face and body without diving into any detail just yet.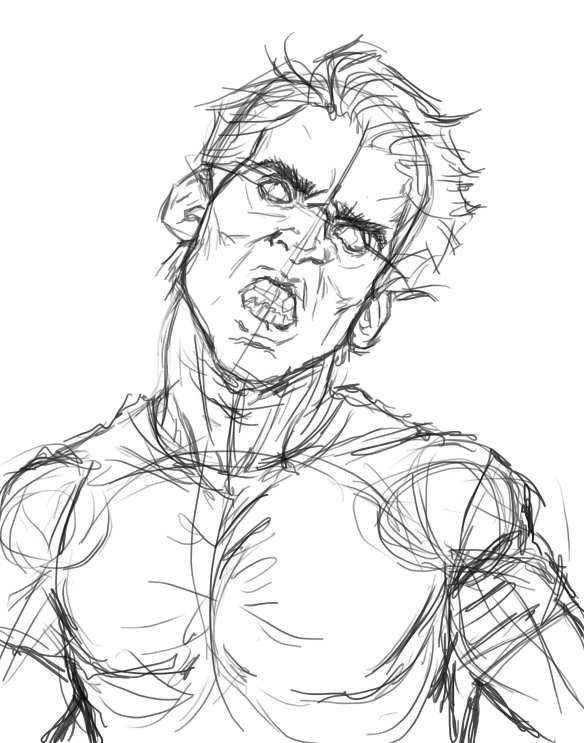
Step 3: Once the basic sketch of the figure is done, turn the opacity to that layer down 75%. Create another new layer, and while referring to the initial sketch, begin drawing out the parts of the figure you want to zombify; flesh wounds, exposed muscle, organs, teeth, etc. I even went as far as changing the shirt to a dress shirt and tie for classic Zombie attire. But as for you, let your imagination go crazy! Get creative!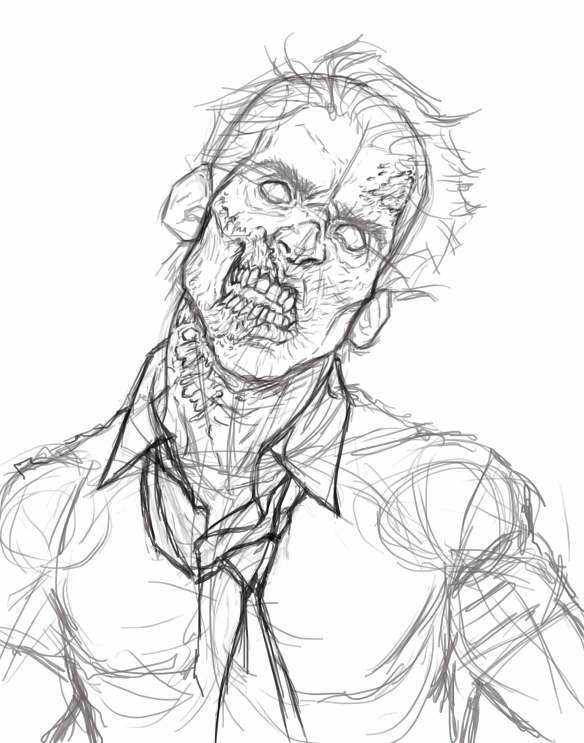
Step 4: Now that the figure sketch is complete, create a new layer and fill it with a neutral gray using the Paint Bucket Tool. Then by messing around with the blending mode properties, set the layer to Multiply to create an overall mid tone on the sketch.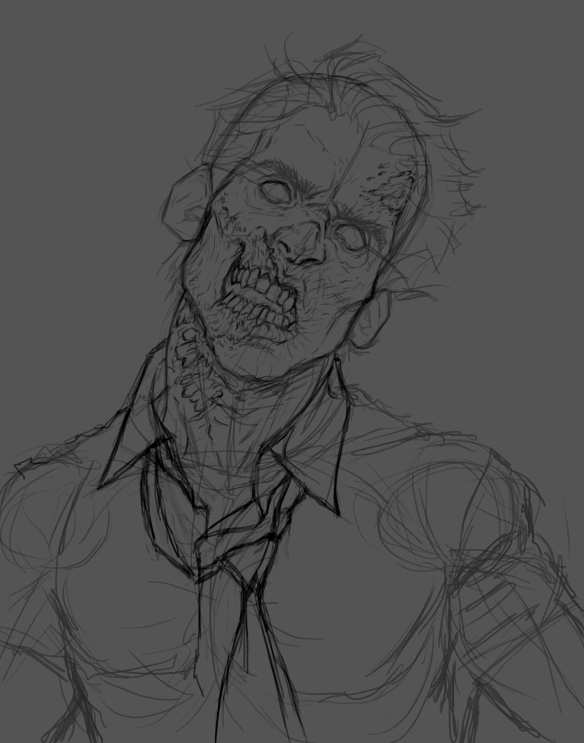
Step 5: This is where we start rendering the figure in a monochromatic manner, beginning with the lights. Create a new layer. Set your brush to a larger size, and set the color to white. Then while paying close attention to your picture, start blocking in the light in the manner of the direction from which its coming from. Also, notice how you can even render out some detail of the skin and clothing by just duplicating how the light spreads out onto the surface of the figure.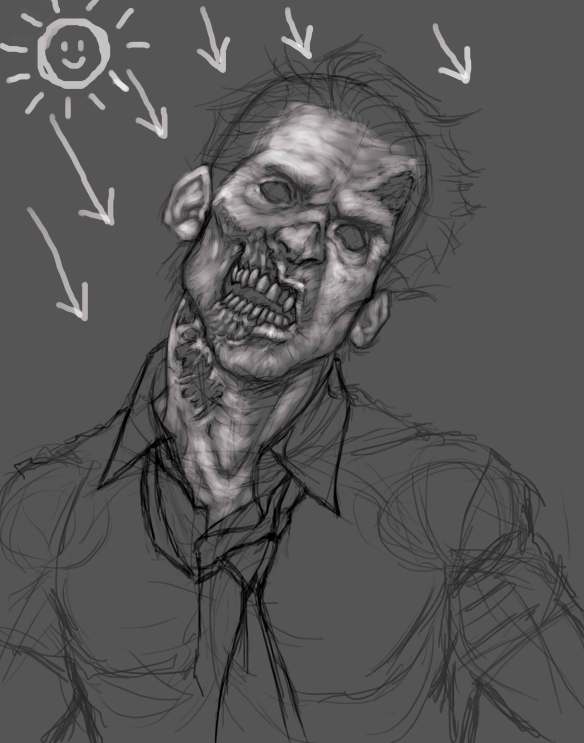
Step 6: Continuing with the monochromatic phase; create a new layer, set the color to your brush to black, and now begin adding the basic shadows found on the figure. This in turn, helps you correctly place needed detail on the figure without really trying to focus on the detail itself.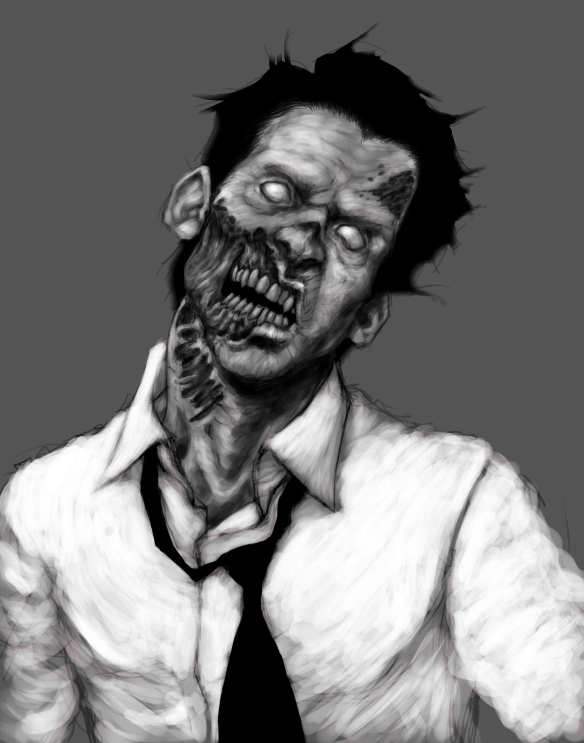
Step 7: Create a new layer, and continue adding more shadows. But now using a 19px Hard Round brush, take the time to begin placing actual fine details onto the figure; such as, hair, eye lashes, wrinkles, etc. Also, take this time to clean up the figure a bit too!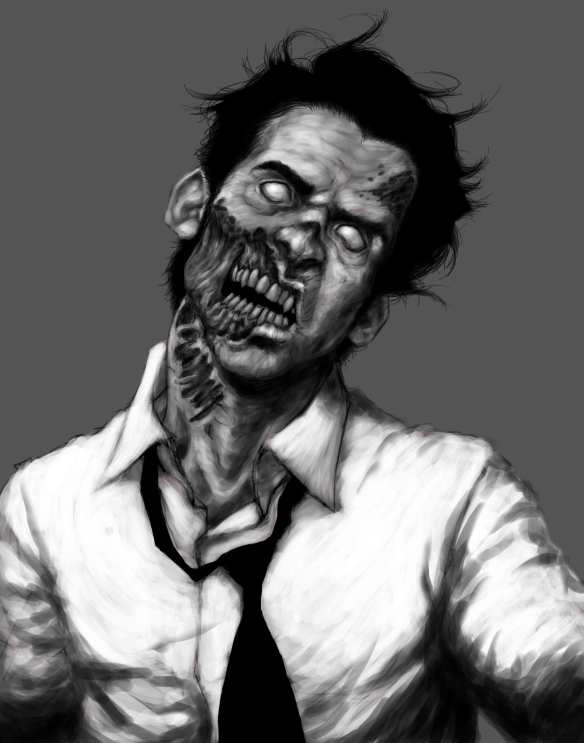
Step 8: Now color starts coming into play! Here we choose an overall color tone that will set the mood of the piece. Create a new layer and again with the Paint Bucket Tool, fill the layer with a color of your choice (in my case, it was an pale olive green). Finally, we set the blending mode properties on this layer to multiply.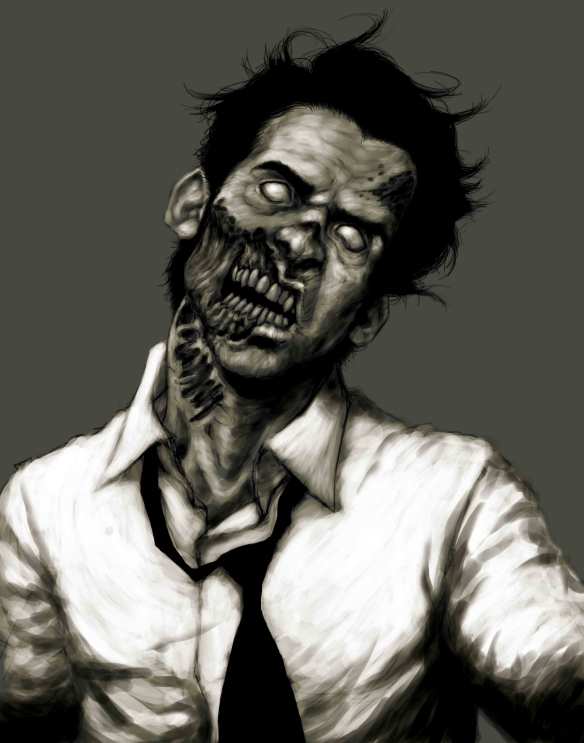
Step 9: Working underneath the color tone layer, create a new layer. Focus onto the zombified areas and with your brush set to a pale purple color, block out the gore of exposed skin and wounds. Also feel free to use the Dodge tool and include some highlights to begin adding detail within the carnage.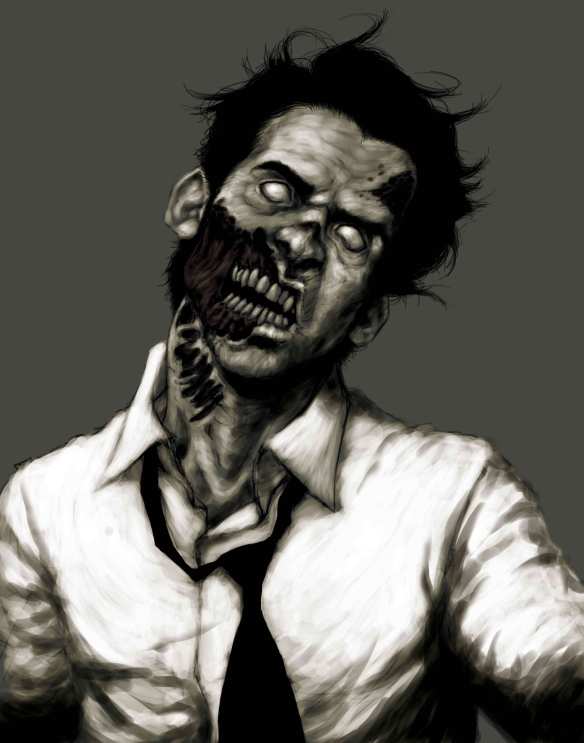
Step 10: Still working underneath the color tone layer, create another new layer. This time with your brush and using the same pale purple, but with a little bit of blue mixed into it, start applying a bit of shading around the eyes, cheeks, and side temples of the face. You gotta start making your Zombie look like the corpse it’s meant to be!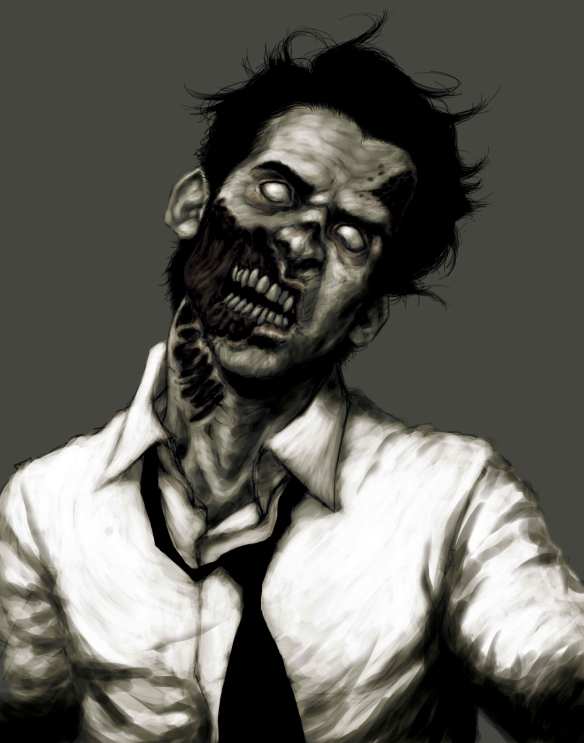
Step 11:Now create a new layer above the color tone layer, and it’s here where you start adding some more highlights to the gory parts. Bold small highlights here and there along with some extra detail such as bruising around the torn skin can make the wounds seem fresh and wet with all that bloody goodness.
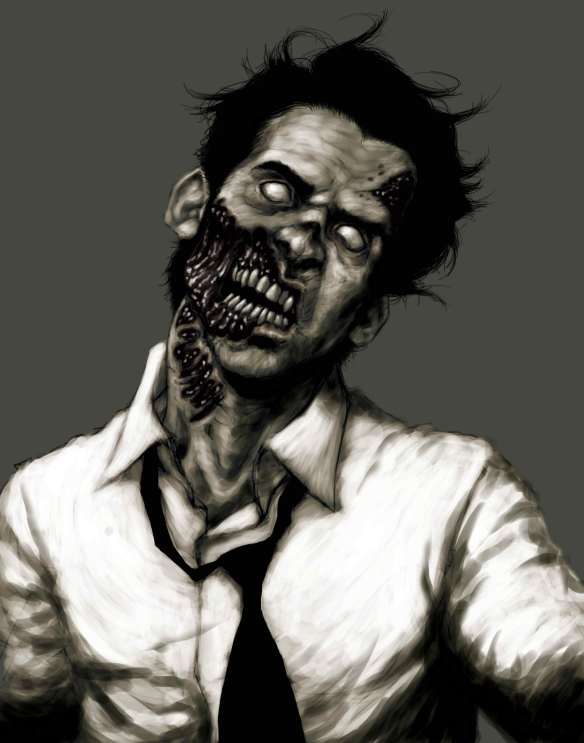
BRING ON THE GORE!!!
Step 12:What kind of Zombie goes around with a clean spanking new white shirt? Here comes the fun part, It’s time to get messy!!! Create a new layer above the color tone layer, and using the combination of a Dry brush and a Chalk brush, begin producing something that looks like blood splatter anywhere on the figure while using a dark burgundy color. Once you’re satisfied with the results, go to the layer blending mode properties and set it to multiply.
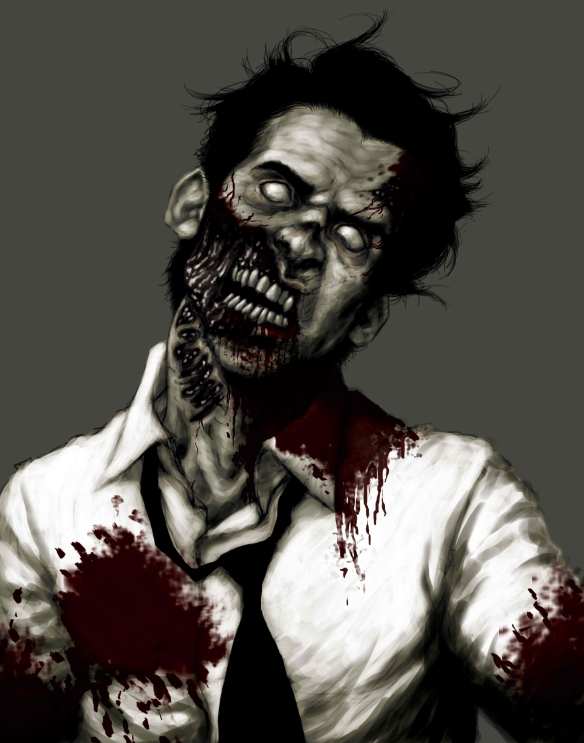
BRING ON THE BLOOD!!!
Step 13: Finally, create a layer above the very first layer called “Background” and with a very large Soft Round brush carefully create some backdrop shadow onto the background to break it up a bit. Then create one last layer above all the layers and it’s here that you can put any finishing details you wish to add.
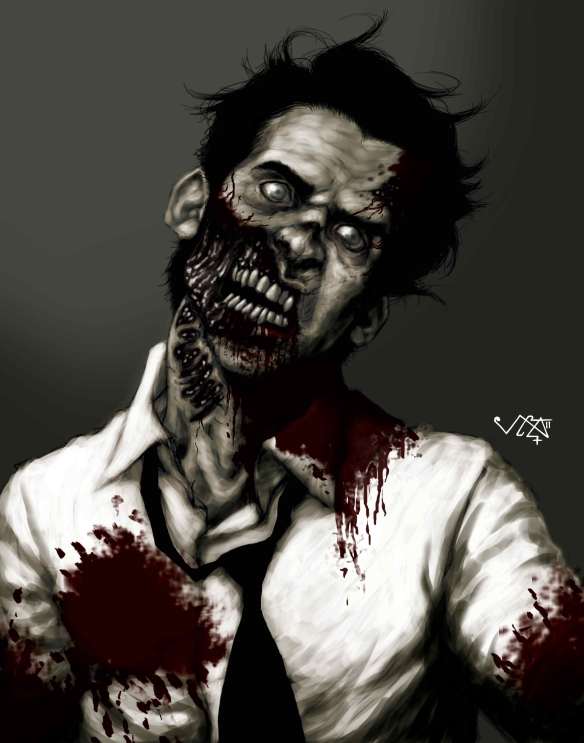
IT'S THE UNDEAD!!!
So there you have it, folks! You now own your very own Zombie Self-Portrait ready to be made into a printed canvas which you can frame and put it in your family room, or to even put up as your Facebook default whenever the Halloween season comes around! Just make sure to feed it lots of BRAAAAAAAAAAAAAAINS!!!
Feel free to leave a comment below on what you thought about this tutorial! Was it helpful? Was it fun? Did it leave you craving for human flesh? Let me know! Hope you loved following it as much as I loved making it!


